 |
|||||||||||||
Landsat 8 Photoshop Tutorial |
|||||||||||||
Getting the data |
|||||||||||||
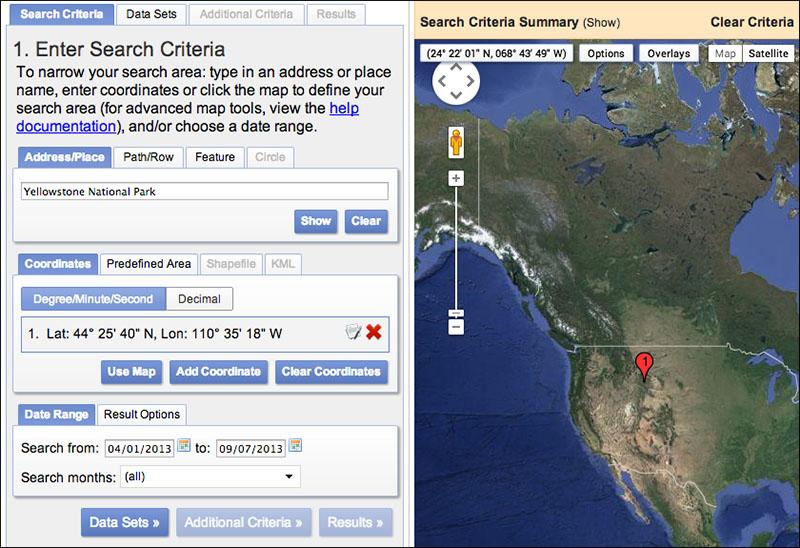
The USGS distributes Landsat 8 through the EarthExplorer data portal. You can also obtain Landsat 8 data from the LandsatLook and Glovis viewers. Procedure 1) Downloading data from EarthExplorer requires that you first sign in as a registered user. 2) After you sign in, use the “Search Criteria” tab in the upper left to specify an area of interest (Figure 3). You can type a place name in the search field or click on the map to place a pin that you can drag to other places. 3) Click the “Data Sets” tab next. From the long list that appears, select “Landsat” followed by "Landsat Collection 1 Level-1." Then check the box for “Landsat 8 OLI/TIRS C1 Level-1.” 4) Click the “Results” tab to peruse the available images. Then click on the image thumbnails to see larger image previews in false color, which you can evaluate for cloud cover and geographic coverage. Scrolling down the image previews reveals additional metadata. |
|||||||||||||
 |
|||||||||||||
Figure 3. EarthExplorer data portal. |
|||||||||||||
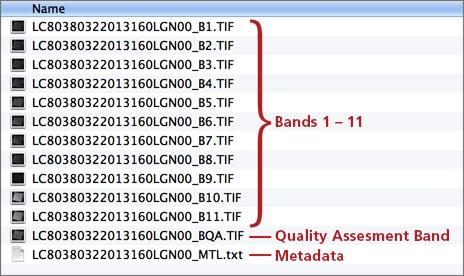
5) The EarthExplorer portal includes other useful tools. For example, you can filter an image search by acquisition date and percent cloud cover. Landsat 8 image extents are also viewable as transparent map overlays. 6) To download a scene from the search results list, click the “Download Options” icon. Select the last option “Level 1 GeoTIFF Data Product (XX MB)” to download all Landsat 8 data bands. These are very big files (about 1 GB compressed, 2 GB uncompressed), so a fast network connection and capable computer is recommended. Also download the jpeg file called LandsatLook "Natural Color" Image (XX MB). You may need this to add more green to forests, a later topic in this tutorial. 7) Decompress the downloaded “.gz” file. The folder contains 13 files named similarly to those shown below (Figure 4). The file names start with scene ID numbers that you can ignore. The last part of the file names identifies the various data bands. For example, B1.tif indicates Band 1, B2.tif indicates Band 2, and so on. 8) Creating a natural color Landsat 8 image involves opening and combining these bands in Photoshop, the subject of the next section. |
|||||||||||||
 |
|||||||||||||
Figure 4. Downloaded Landsat 8: what you get. |
|||||||||||||